Thursday, July 21, 2011

Flying High On 2.4GHz

It sounds like some new designer drug cooked up in a backroom lab, But anyone who flies radio control airplanes or helicopters know it's the latest greatest frequency for RC radio gear. While many might complain of glitches in the new technology, I for one am relieved to get away from the old school FM frequencies where it was critical that no one else was using the same crystal as you or your expensive hand built model could become a pile of broken balsa wood with just the flip of a switch.

This latest t-shirt design is for the RC Pilot like myself that is glad to be flying high on 2.4GHz. Get your 2.4 GHz tee here.

Monday, July 18, 2011

Home Made CA Glue Tip Applicator

Here is a great tip for model builders when you need to apply CA to a very small area. Make yourself a fine tip applicator by starting with a regular Q-Tip. It seems the handle on these little jewels is hollow.

Hold your Q-tip by both ends over a open flame such as a candle. Heat the center and pull slightly as you rotate it. Once it softens and stretches slightly, let it cool.
Then Take a pair of scissors and cut the middle of the Q-tip in half and cut each cotton end off. You then have two applicators.
To attach them to your bottle of CA, take a short piece of silicone fuel tubing and slip the newly made applicator in one end and slide the other over the nozzle on your CA bottle.


You're ready to go.

Thursday, July 14, 2011

Senior Telemaster Build, Tail Feathers (Part 2)

Senior Telemaster Aft view
Photo by D. Reifsnider

In part one of this series I covered getting set up with tools and such for building the STM along with the initial steps of building the wing. If you haven't read part one of this series, you can check it out here.

In this segment I'll cover building the tail section which includes the stabilizer, elevator, rudder and fin. I started with the stabilizer which is built just like the wing panels where you lay the plans down on a flat building surface and cover them with wax paper. The trailing edge, bottom spar, and leading edge are then pinned to the building board and ribs are installed. A word of caution, the set of plans I received were extremely warped. If I had built the stab by laying the ribs exactly as shown, the stab would have been an inch wider on the left side of the rudder than the right. I had to adjust rib spacing to get the stab symmetrically left and right. Same as with the wing, if I had laid the trailing or leading edges down on the plans without checking for straightness with a straight edge, I would have ended up with a warped flying surface.

Top Planking Glued and Pinned to Center Ribs
Special attention is required when installing the two center ribs so that they are 90 degrees to the leading and trail edge as well as 90 degrees vertically so that the fin will be straight up and down.
Elevator Pinned Against Stab. and Halves Glued Together

Rudder Sections Glued Together and Pinned to Flat Surface.


Stab Ready for Tips to be Added


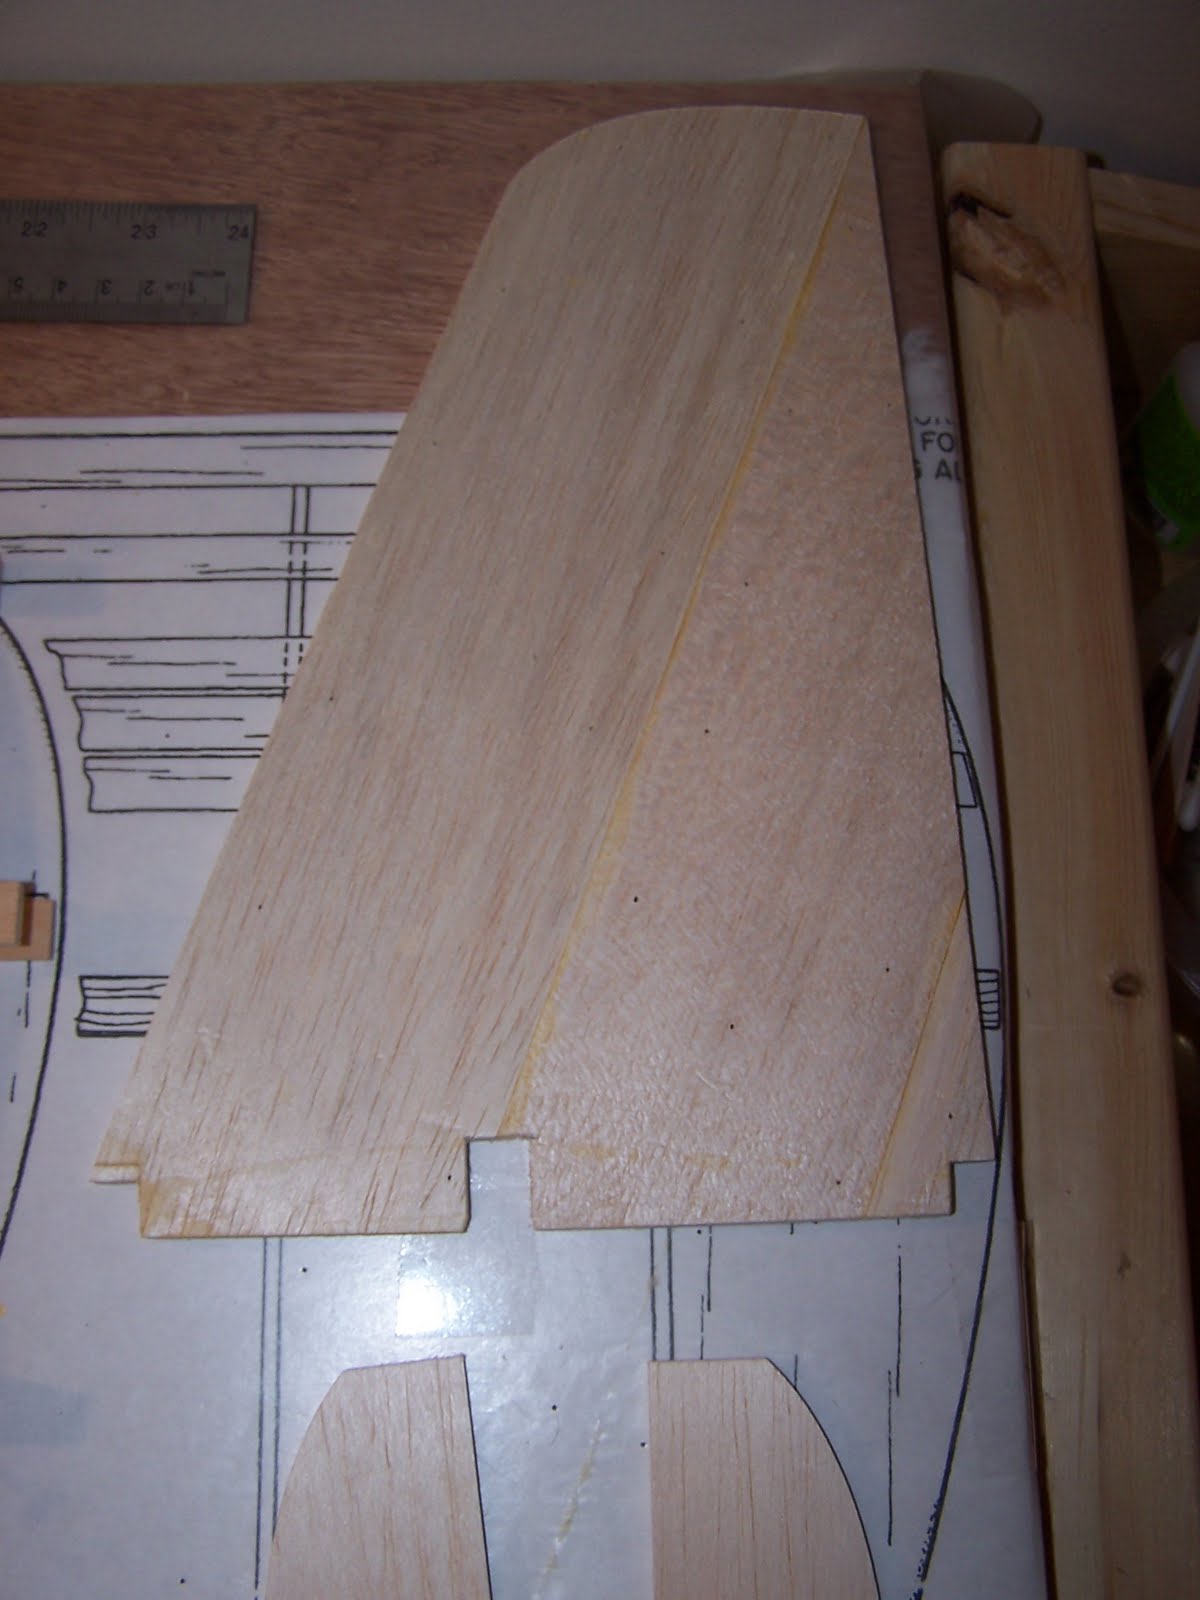
Fin Glued Up With Notches Cut for LE, Center Spar and TE.


Close Up of Notches


Tail Ready to be Covered

  1. Part One, Wing
  2. Part Two, Tail Feathers <--YOU ARE HERE
  3. Part Three, Fuselage
  4. Part Four, Wing Struts
  5. Part Five, Wing Attachment
  6. Part Six, Power and Fuel

Tuesday, July 5, 2011

RC Aircraft Pilot


Looking for something something sharp for your pilot to wear? Here is a great gift idea for any RC pilot. Featuring a Parkzone Super Cub LP which is one of the best RC trainer aircraft available for new pilots to learn on. This legendary aircraft is known as a very stable and great flying plane that is a blast to fly. This 100% cotton t-shirt is the newest design in the Poker and Chaos line of aviation apparel.

Get Your Super Cub T-Shirt Here.